
Filling out NFA (National Firearms Act) fingerprint cards is a crucial step when applying for certain firearms-related activities, such as purchasing or transferring Title II firearms regulated by the Bureau of Alcohol, Tobacco, Firearms and Explosives (ATF). This article serves as a comprehensive guide to help you correctly complete NFA fingerprint cards, ensuring a smooth and accurate application process.
Step 1: Obtain the Correct NFA Fingerprint Cards:
Firstly, ensure that you have the correct version of the NFA fingerprint card required for your application. Contact the agency or organization requesting the fingerprints, such as the ATF or your local law enforcement agency, to obtain the appropriate cards.
Step 2: Review the Instructions:
Thoroughly read the instructions accompanying the fingerprint cards. The instructions provide valuable guidance on filling out the cards accurately and may include specific requirements or additional information needed for your application.
Step 3: Gather Required Information:
Before filling out the fingerprint card, gather all the necessary information to complete the form accurately. This typically includes personal details such as your full legal name, address, date of birth, Social Security number, and any other information specified by the agency.
Step 4: Use Black Ink:
It is vital to use black ink when filling out the NFA fingerprint card. Black ink ensures legibility and reduces the chances of errors or smudging. Avoid using other colors or types of ink to ensure clarity.
Step 5: Begin Filling Out the Card:
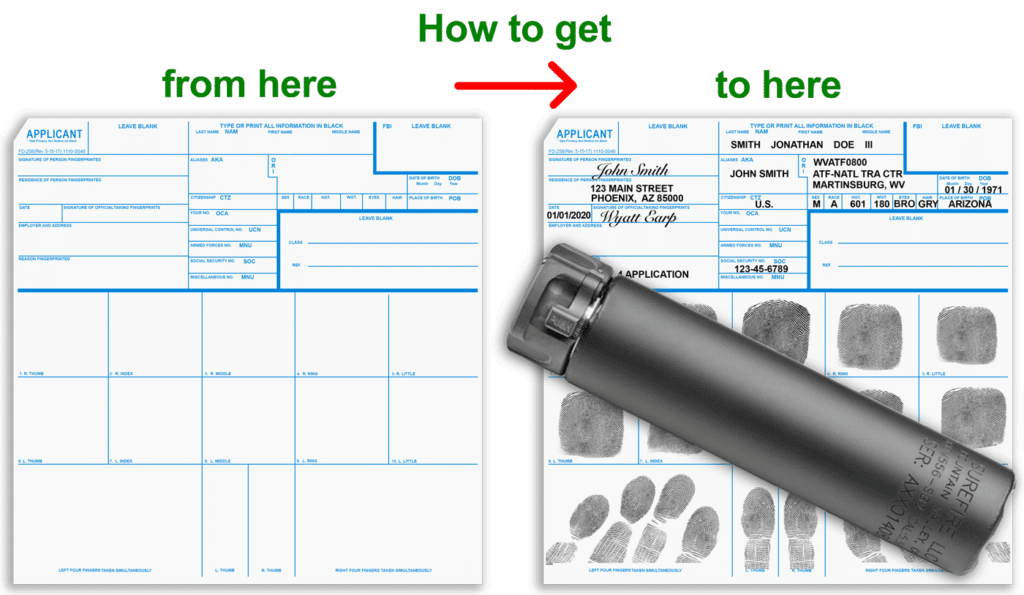
Start by entering your personal information in the designated fields. Write your full legal name, including any suffixes, as it appears on your identification documents. Provide your complete address, including the street, city, state, and ZIP code.
Step 6: Record Additional Identifying Data:
In the appropriate section, provide additional identifying data as requested. This may include your date of birth, height, weight, eye color, hair color, and any unique identifying marks or characteristics.
Step 7: Sign and Date the Card:
Once you have completed all the required sections, sign and date the fingerprint card in the designated area. Ensure that your signature matches the one on your identification documents for consistency.
Step 8: Obtain Fingerprint Impressions:
Visit a qualified fingerprint technician or an authorized agency capable of taking high-quality fingerprint impressions. Follow their instructions and guidelines to ensure accurate and clear prints. Typically, your fingerprints will be taken electronically or using ink and rolled impressions.
Step 9: Attach Fingerprint Cards to Your Application:
After obtaining your fingerprint impressions, carefully detach the completed fingerprint cards along the perforated lines, if applicable. Securely attach the fingerprint cards to your application or submit them as instructed by the agency or organization requesting the fingerprints.
Step 10: Keep a Copy for Your Records:
Before submitting the completed fingerprint cards, make copies for your personal records. It is essential to retain a copy in case there are any discrepancies or if you need to reference the information in the future.
Conclusion:
Filling out NFA fingerprint cards is a crucial step when applying for certain firearms-related activities. By following this step-by-step guide and carefully adhering to the instructions provided, you can ensure that your NFA fingerprint cards are accurately completed. Remember to seek assistance from authorized professionals if you have any uncertainties or questions during the process. Get your NFA fingerprint card service today with us.